Preserving cherished family photos is more important than ever. Whether they’re decades-old prints or fragile keepsakes, digitising your photos ensures they remain safe from fading, damage, or loss. In this guide, we’ll show you how to digitise your old photos properly and preserve your memories for generations to come.
1. Gather Your Equipment and Materials
Before starting, make sure you have the right tools:
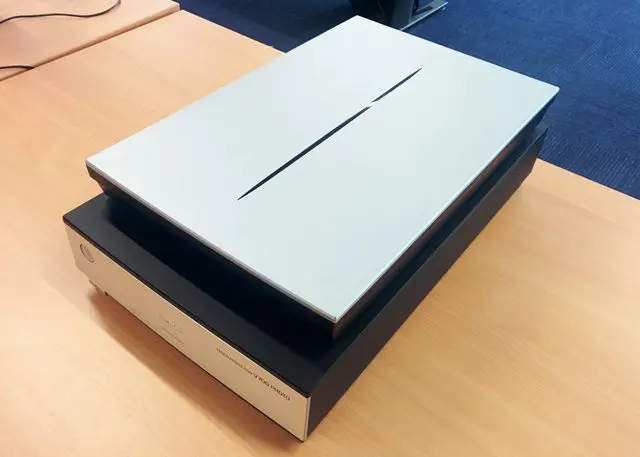
• A high-quality scanner: Flatbed scanners like the Epson Perfection series are excellent for photo scanning. Avoid using all-in-one printers, as their scan quality is often lower.
• Photo-safe gloves: Handle delicate photos with care to avoid smudges or damage.
• A clean, dust-free workspace: Dust and dirt can affect the clarity of your scans.
2. Clean Your Photos and Scanner
Dust and fingerprints can interfere with the quality of your scans.
• Gently clean photos using a soft, lint-free cloth.
• Clean the scanner glass with a microfibre cloth and an ammonia-free glass cleaner.
3. Adjust Your Scanner Settings
For the best results:
• Resolution: Set the resolution to at least 300 DPI (dots per inch) for standard prints. For very small or detailed photos, 600 DPI is ideal.
• File Format: Save scans as high-quality JPEGs for everyday use or as TIFF files for archiving.
• Colour Mode: Use colour mode for all photos, even black-and-white ones, to capture the full tonal range.
4. Organise Before You Scan
Take a moment to sort your photos:
• Arrange them in chronological order or by event for easy identification later.
• Use sticky notes or labels to jot down details like dates, locations, or names.
5. Start Scanning
Place one photo at a time on the scanner, ensuring it’s properly aligned.
• Preview the scan to check for cropping or alignment issues.
• Save each photo to a clearly labeled folder for easy retrieval.
6. Edit Your Scans
Post-scan editing can greatly enhance your digital photos:
• Adjust brightness, contrast, and sharpness to improve clarity.
• Crop out unnecessary borders.
• Avoid heavy filters or over-editing to maintain authenticity.
7. Back Up Your Files
Once digitised, keep your photos safe by storing them in multiple locations:
• Use cloud storage services like Google Drive, Dropbox, or iCloud.
• Save copies on external hard drives or USB sticks for extra security.
8. When to Seek Professional Help
While digitising is a great way to preserve your photos, some issues require expert care. Photos that are torn, stained, or faded can often be digitally restored to look as good as new. At Flashback Photo Co, we specialise in digital restoration, using advanced techniques to repair damage and bring your memories back to life.
Why Digitising Isn’t Enough
Digitising your photos is a great first step, but restoring them ensures they truly shine. At Flashback Photo Co, we specialize in bringing your memories back to life, whether it’s through restoring faded colors, removing scratches, or even repairing torn or insect-damaged photos.
Ready to Preserve Your Memories?
Contact us today to learn more about our photo restoration services. We’ll guide you through the process and ensure your cherished memories are beautifully preserved.


